
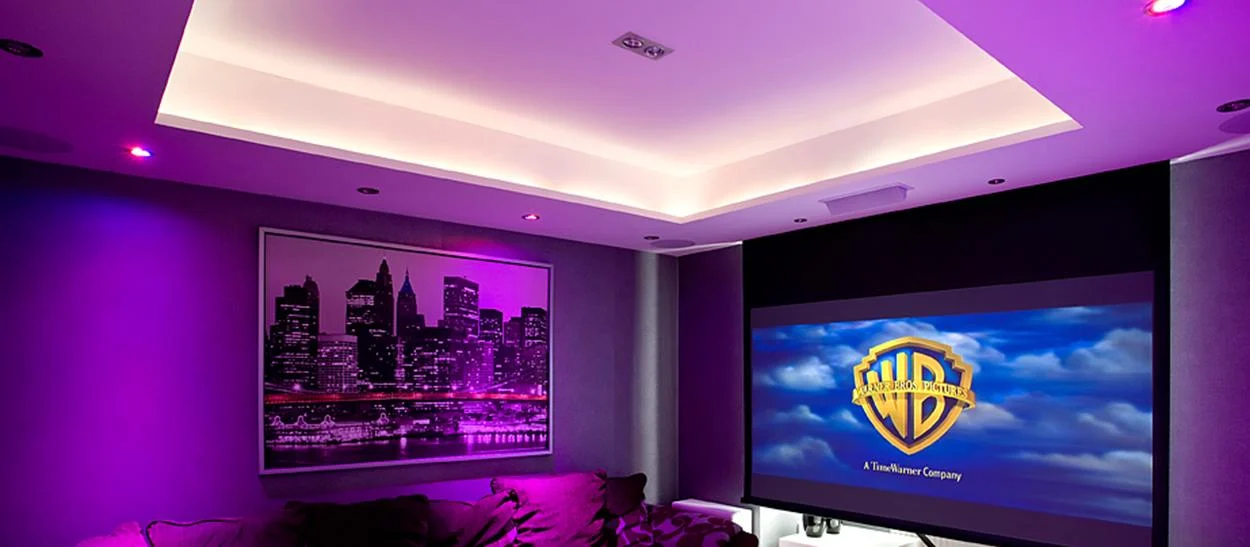
Have you ever dreamed of turning your living room into a movie theatre or your classroom into an interactive learning hub? A ceiling projection screen is your ticket to achieving just that! These ingenious screens, mounted directly onto the ceiling, provides a handy and space-saving method to experience projected content without the hassle of a bulky stand. But mastering the do’s and don’ts of using a ceiling projection screen before you embark on your cinematic journey is crucial.
Let’s get right into it.
Do:
Choose the right size:
- Like a movie screen, the size of your ceiling projection screen matters. Consider the viewing distance (how far you’ll be sitting from the screen) and the room size. A larger screen might seem appealing, but sitting too close can cause neck strain and a distorted image.
Match the screen material to your needs:
- Ceiling projection screens come in various materials, each with its strengths and weaknesses. Here’s a quick guide:
- Matte white: The most common and affordable option, great for general use with good viewing angles.
- High gain: Ideal for rooms with ambient light, as it reflects light more intensely. However, the viewing angle might be narrower.
- Ambient light rejecting: Perfect for rooms with lots of windows or light, as it absorbs light from outside the viewing area for a clearer picture.
Consider a motorized screen:
- Motorized projection screens retract into the ceiling when not in use, creating a seamless look. They’re incredibly convenient for larger screens or if you want to maintain a clean aesthetic in your room.
Mount the screen securely:
- This is crucial for safety and optimal viewing. Ensure that the mounting hardware you are using is compatible with your device. ceiling type (e.g., drywall, concrete) and the weight of the screen. If you need more clarification, consult a professional for installation.
Position the screen correctly:
- Centre the screen on the wall you’ll be projecting onto, ensuring it’s level and at a comfortable viewing height. The ideal height depends on your seating arrangement, but generally, the bottom of the screen should be slightly above eye level when seated.
Adjust the projector:
- Once the screen is mounted, it’s time to fine-tune the projector. Use the projector’s keystone correction features to ensure the image is rectangular and not trapezoidal. Adjust the focus and zoom for a sharp and clear picture.
Don’t:
Mount the screen too close to the ceiling:
- Leave enough space between the screen and the ceiling for proper ventilation and to avoid overheating the projector.
Touch the screen surface excessively:
- Most projection screens are delicate and prone to fingerprints and dust. Use a soft, dry microfiber cloth for occasional cleaning.
Project directly onto a wall:
- While tempting, projecting onto a plain wall will result in a dull, washed-out image. A ceiling projection screen is designed to reflect light efficiently for optimal image quality.
Forget about ambient light:
- Projector performance can be affected by light in the room. If possible, dim the lights or choose a high gain or ambient light rejecting screen for better visibility.
Neglect maintenance:
- To keep your screen clean, it is recommended to regularly dust it off using a microfiber cloth. This will help to remove any dust or smudges that may accumulate on the screen over time.
Skimp on quality:
- While a budget-friendly option might seem tempting, investing in a high-quality ceiling projection screen ensures better image quality, durability, and a smoother viewing experience.
Conclusion
By following these do’s and don’ts, you can ensure your ceiling projection screen enhances your entertainment and presentations, transforming your home into a versatile entertainment hub. Remember, your ceiling projection screen will provide countless hours of cinematic enjoyment with the proper setup and care!